
What? Won’t sublimation work on dark shirts? Have you ever heard this myth? Well! To be honest, Sublimation printing on dark fabric is tricky. Because sublimation printing doesn’t show up well on dark shirts as to sublimate dark shirts properly, we must use an under the base, which is quite tiring. On the other hand, experts have discovered a fantastic approach to sublimate on dark shirts without using an under-base.
If your black lover customers request dark-coloured sublimation shirts, you are frustrated by refusing them or refusing to accept orders because sublimation does not print nicely on black shirts. Do not repeat this mistake! Because we’ve devised an incredible technique for you, you’ll never have to turn down an order again. So, without further ado, let’s get this party started.
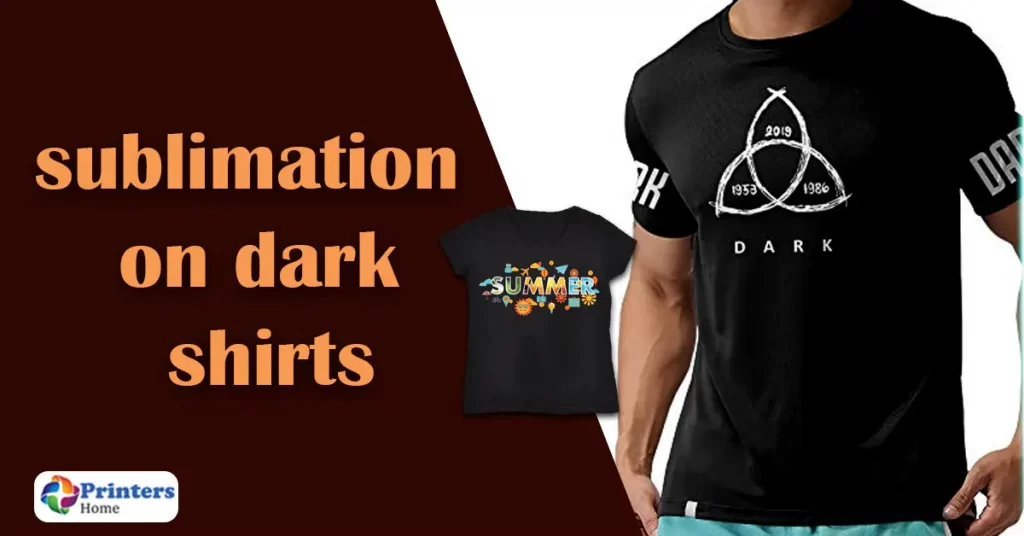
How to do Sublimation on Dark T-Shirts?
In this post, you’ll find ways to sublimate a dark shirt using White glitter HTV, B-flex Flock, and Bleach.
1. White glitter HTV:
Except for the difference in ink and the use of white glitter HTV, Sublimation on dark shirts is very similar to sublimation on cotton t-shirts. Instead of sublimation vinyl directly on the shirt, you use either a sublimation vinyl like EasySubli or glitter white heat transfer vinyl.
Both white glitter HTV and EasySubli printed HTV are white and include polyester, two sublimation requirements. Smooth HTV will not function, but Glitter HTV is required because the glitter particles contain polyester. It’s also good to use polymer-coated fabric or a T-shirt with at least 50% polyester content.

Supplies Required:
1. Design your image And Print it:
Whenever we do Sublimation, we mirror the image. But in this case, transferring the design directly to the HTV means there is no need to mirror the image. Print the image using one of the best Sublimation printers.
It is preferred to make borderless prints if your image is larger. Make sure to watch out for the print settings. Before printing, apply the HTV on the shirt in the most precise manner. Take HTV and load it into the printer –It has a shiny side and the other matte. Print the design on the matte side of this vinyl paper because the shiny side cannot hold the sublimation ink.
One Thing to Note: Please adjust your setting before starting sublimation printing on dark fabrics. You can download the print setting here.
2. Cropping the design:
AAfter printing, let the HTV cool for about a minute. Trim the design using a vinyl cutter according to your dimensions.
3. Prepress:
Roll the lint roller all over the shirt surface to smoothen it. Set the heat press to 360 degrees Fahrenheit and prepress the shirt for about 5 seconds to remove any creases or moisture.
4. Position your design on the shirt:
It is by far the most difficult aspect of Sublimation on black fabric. Only sublimate the exact printed area after weeding out the blank regions from the vinyl. It differs from heat transfer paper in that there is no need to clip off the undesired parts in Heat transfer paper. Peel off the backing (exposing the adhesive side) before pressing to avoid ghosting. After peeling, position your transfer onto the t-shirt and adhere it to its place.
5. Press it:
Put your butcher paper on the top of the transfer and press it for 60 seconds at 400 degrees Fahrenheit. The butcher paper keeps the vinyl from touching the heat press. Remove the shirt from the press when the timer goes off, and carefully take away the sublimation transfer paper (it’s hot). Use heat-resistant gloves to take out the shirt, and your sublimation dark shirt is ready to launch!
Downside:
Unfortunately, this is a concern with this procedure because you can’t see through the sublimation paper to determine if your placement is perfect on the HTV. So, keep a close eye on the design during placement.
2. Easy Subli method
If you want to sublimate on dark-colored cotton shirts, Easy subli HTV is a convenient method to proceed.
Follow the guidelines to sublimate a shirt with the Easy Subli method:
Procedure:
NOTE: print and press in the same manner as in the preceding approach with the few below-given exceptions.
- Create your design in the silhouette studio or download it from the internet. Select the size carefully.
- Cut and weed your design in the silhouette studio and make two layers, one blank and the other printed. Print your design now.
- Dry the ink by leaving it overnight or in the heat press (don’t close the heat press; otherwise, it’ll stick, only bring the heat press closer to the design to transmit heat).
- Place your printed design in the cutting mat and insert it into the Cutter.
- Remove the excess from the backing of the sheet. You may use a weeding tool to be more precise. The design will be left on the carrier sheet.
- Get your masking paper, separate this from the back, and place it on the design. Make sure it is evenly attached. Slide the carrier mask on the design with a card or with something that can put enough pressure and remove the carrier mask. The design will be transferred to the carrier mask.
- Now, pre-press your shirt for 5 seconds and place the design in the middle of the shirt. Cover it with butcher paper and a protective sheet, and press your shirt
Also Read: Most common Sublimation Problems
3. B-Flex Flock Method
Sublimation on Dark cotton shirts can be done with another b-Flex flock method. The supplies needed for this method are the same as above, except for adding a b-flex flock. Follow the steps given below:
- Download and print your favorite design on the thermo-transferable flock.
- Cut your design with a Cricut cutter or manually with your hands ( if you are good at this) or according to the design.
- Place your shirt on the heat press for pre-pressing. Swipe a lint roller on it.
- Back off the flock, place it on the shirt (shiny side down), cover it with butcher paper, and press for 10 seconds.

Now place your design on the flock and Tape it with heat tape.

Press it for 450 seconds. Wear your heat-resistant gloves, and peel off the first layer.

You’ll have your design successfully printed onto the flock. The texture feels very velvety with B flex flock.

Protip: the regular flock doesn’t work, so you must get the b flex flock.

4. Sublimation on Dark Cotton Shirts using Bleach
Material Required:
- SUB PAPER
- Paint brush
- Bleach
- T shirt blank
- Trash bag or teflon
- Heat-Gloves
Process:
- Download or Create your design using software and print it on the Sublimation paper.
- Place your shirt on the press and pre-press it to absorb any moisture. Cut your design.
- Align your design on the shirt and tape it down.
- Cover your sublimation paper with parchment paper and Press your design at 385 degrees for 40 seconds.
- Remove the parchment paper, and peel the sublimation paper. You have your design sublimation shirt now.
Bleaching:
Note: sublimate the design first and then bleach it to get the design. Otherwise, bleach will destroy the cloth fabric.
For bleaching, Take a paintbrush and dip it in the bleach. Make sure not to overload the brush with bleach.

Use a small sized paint brush to put the bleach on the edges.

Shift to a large sized brush for the middle and drop down some bleach as drops to make a design.
Scatter the bleach drops carefully with a brush for an enhanced and stylish look.

Allow the bleach to cool down for at least 2 to 5 minutes.
Wash your shirt with a detergent and dry.

For detail guide you can watch video though this link.
Tips and Tricks
Wrap-up
You must have realized that the above statement is a complete myth. Dark colors are nearly impossible to print by sublimation t-shirt printing services, but with the correct supplies and techniques, you can do it. If you sell shirts or want to offer something like Sublimation on dark shirts as part of a t-shirt business, I recommend investing in this process instead.

Hi, I’m Talha Bhatti founder and director of Printershome. As a Leading Author and Writer, I found a huge gap in studying the quality and variety of the printers. My Main goal is to help potential users find the solution to their problems, solve their queries with quality assurance and focus on the perfect solutions.